lasers are cool!

The first laser was demonstrated in 1960 by Theodore Maiman and his research group at Hughes† in California.  Here is a good background article on the first laser, its inventor and the role that Einstein played in developing the theory of stimulated emission.

The principle of laser operation is outlined in this description of Maiman’s laser, which used a rod of polished ruby inside a spiral flashtube.

My favourite James Bond film, Goldfinger, has a scene where Sean Connery (the best 007 imho) is strapped to a table under a huge red laser.  It should have been a saw but the invention of the laser, just 4 years earlier, was a gift for the writers.  This scene helped the film win the best effects Oscar in 1965 and, more importantly, gave us the ultimate Bond quote:

Bond: Do you expect me to talk?
Goldfinger: No, Mr. Bond, I expect you to die.

Everyone should watch the laser scene.

Bonus points if you can tell me about the bad physics in that clip…

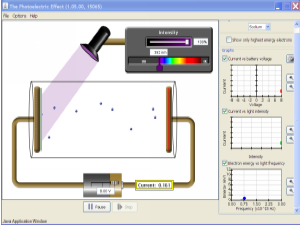
You can try running a laser for yourself.  Click on the picture below to load a simulator.  You’ll need Java on your computer to run the simulation.

Screen shot 2013-04-18 at 19.26.22


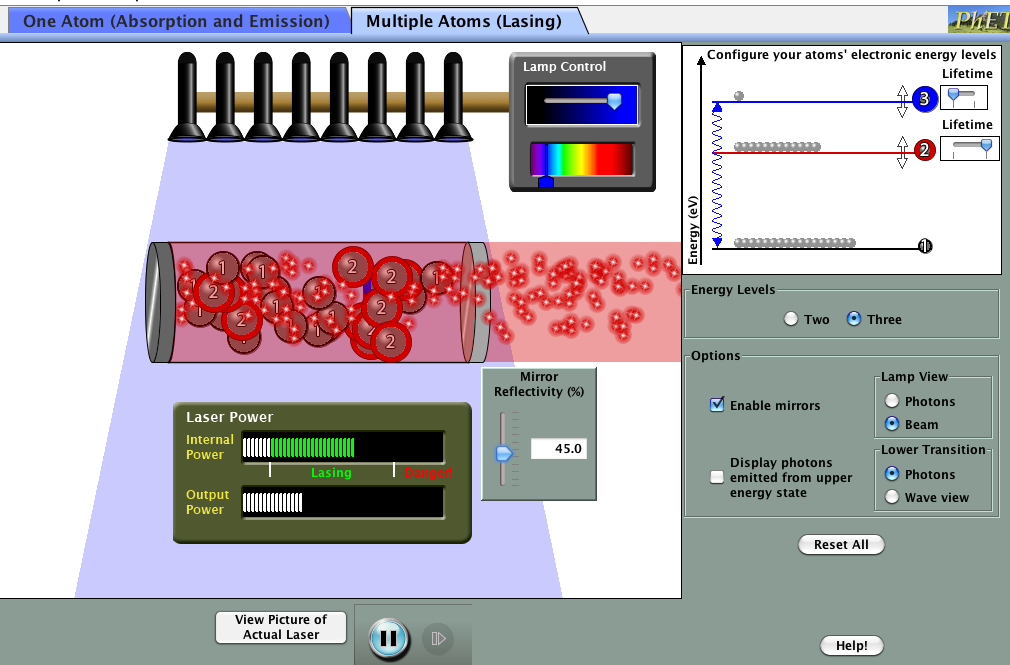
Try changing lamp (pump) irradiance and mirror reflectivity on the single atom version before moving on to the multiple atom tab.

There are some pdf notes on lasers attached to the end of this post.

† Disclaimer: I used to work for Hughes before I trained as a physics teacher – the Glenrothes branch, not California 🙁

higher – where do line spectra come from?

We looked at line spectra with a spectrometer before the holidays and this week we considered how these different colours of light are produced.

Here is a website that lets you choose the energy of a photon and see whether or not it causes a change in the energy of an electron inside the hydrogen atom.

picture-3

You can read more about line spectra and where they come from here and here.

The visible line spectrum of the Hydrogen atom is explained in the following short film. Click on the image below to start the clip.


I’ve attached a pdf file with further notes on line spectra and the absorption/emission of photons.

hacked!

Sorry if you’ve encountered a maintenance screen this week.  My site was hacked and I had to reinstall everything from scratch.  Most things should work but please leave a comment if something is broken and I’ll get it fixed as soon as I can.

S4 – changing state

We finished the Energy Matters topic last week.  Here are some notes with worked examples to show how we calculate the heat energy required to change the state of matter.  Values of Lf and Lv are provided inside the front cover of a question paper.

We’ll finish off the course by looking at Space Physics.

higher – photoelectric effect

We looked at the photoelectric effect earlier this week.  This video has a similar demonstration to the gold leaf electroscope experiment I showed you in class and includes an explanation of the process.

Click on the picture below to download the simulation we used to investigate the effect of irradiance on frequency on photocurrent.  You’ll be prompted to install Java if you don’t have it already.

Once the animation is running, you can;

  • change the metal under investigation (we used zinc in class)
  • vary the wavelength of the incident light
  • vary the irradiance of the incident light.

Notice that below the theshold frequency you can’t get any photoelectrons, even if you set the light to its brightest setting.

Compare your results to the graphs provided in your notes.

I have attached some notes & questions on the photoelectric effect. Click on the link below to download a copy.

diffraction gratings

We have used the grating equation

 n \lambda = d \sin \theta

to measure the wavelength of light produced by a laser.  This equation is also useful to predict the location of bright fringes produced by a diffraction grating.  Remember that d in this equation is the distance between adjacent lines in the grating and not the number of lines per metre/millimetre. More about d on this A-level revision page.

We’ll look at applications of this equation a little more this week, e.g. using a spectrometer to measure the angle so we can calculate the wavelength of the light used.

spectrometer [photo by mrmackenzie]

In the meantime, get some practice at using the grating equation with the simulation site shown below.  You can select how many lines you would like per millimeter of grating and alter the wavelength.  Try calculating the angle for the first or second order spots and then use the simulated protractor to see if you are correct.

Click on the image below to get started.

You need to have Java installed to run the simulation.

I have attached a pdf with some notes on diffraction gratings.  Read through them and make sure you are happy with the theory so you are able to complete the experiments in class.

ah – particle physics

So we’ve reached the end of unit 2. For those of you interested in finding out more about fundamental particles, here are some ideas to get you started.

answers to higher unit 2 practice NAB

Here are my solutions to the practice NAB for unit 2.

Check your own answers carefully.  Did you;

  • mix up the equation for charged particles with those for capacitors?
  • remember to calculate the period of an ac signal in seconds?
  • make the correct substitutions for V1 and V2 in the differential amplifier question?
  • use “it” instead of nouns in your explanations?