how to measure internal resistance

Warning: I am expecting you to do more than just read this text.  Please plot the graph and find the properties of the cell.

You’ve just completed an experiment in class (it is listed as “Method 2″ on page 8 your printed notes) where you built a simple series circuit using a cell, a resistance box and an ammeter.  A voltmeter was connected across the resistance box and you recorded the voltage across (TPD) & current through the resistor as you changed the resistance from 0.5? to 1.5? in steps of 0.1?.

The video below shows the same type of experiment, but uses a potato and two different metals in place of normal cell.  Watch the video and note the values of I and V each time the resistance is changed – remember you can pause the video or go back if you miss any.

httpv://www.youtube.com/watch?v=XOL52fn-ByI

Now plot a graph with current along the x-axis and TPD along the y-axis.  If you don’t have any sheets of graph paper handy, there is a sheet available to download using the button at the end of this post.  Or you could try printing out a sheet from a graph paper site, use Excel or download the free LibreOffice.org Calc spreadsheet.

Draw a best-fit straight line for the points on your graph and find the gradient of the line.  When calculating gradient, remember to convert the current units from microamps (uA) to amps (A).

The gradient of your straight line will be a negative number. The gradient is equal to -r, where r is the internal resistance of the potato cell used in the video.

You can obtain other important information from this graph;

  • Extend your best fit line so that it touches the y-axis.  The value of the TPD where the line touches the y-axis is equal to the EMF of the cell. (Explanation: on the y-axis, I is zero so TPD = EMF)
  • Now extend the best-fit line so that it touches the x-axis, the current at that point is the short-circuit current – this is the maximum current that the potato cell can provide when the variable resistor is removed from the circuit altogether and replaced with just a wire.

Read

ultraviolet radiation

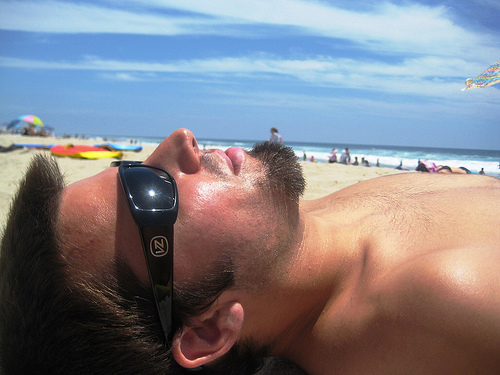
image courtesy of sonrisaelectrica

The section of the electromagnetic spectrum with wavelengths ranging from 10nm to 400nm is called ultraviolet radiation (uv for short).  Sunlight contains uv rays and it’s those uv rays that are responsible for the suntan you get during the summer holidays.  This Australian animation shows how the ultraviolet in sunlight causes our skin to tan and explains why too much uv will damage our skin.  The SunSmart page has loads of information on staying safe in the sun.

The damage that uv can do to cells is put to good use in some sterilisation equipment, such as this bottle for safe drinking water and the toothbrush sanitiser shown below.

The Nobel Prize for Medicine was awarded to Niels Rydberg Finsen in 1903 for his research into the effects of ultraviolet on the bacteria that cause tuberculosis.

We used uv banknote checkers in class to view some of the security features built into British banknotes. This image of a Clydesdale Bank £10 note shows part of the pattern that can only be seen under uv light.

image from Science Photo Library

There is a Bank of England leaflet (pdf) with further information on the security features in our banknotes.

Remember that whenever something glows under a uv light, we’re not seeing the uv radiation itself because our eyes can’t detect ultraviolet.  Instead, we see the fluoresence; visible light given out in response to the uv falling on the material.

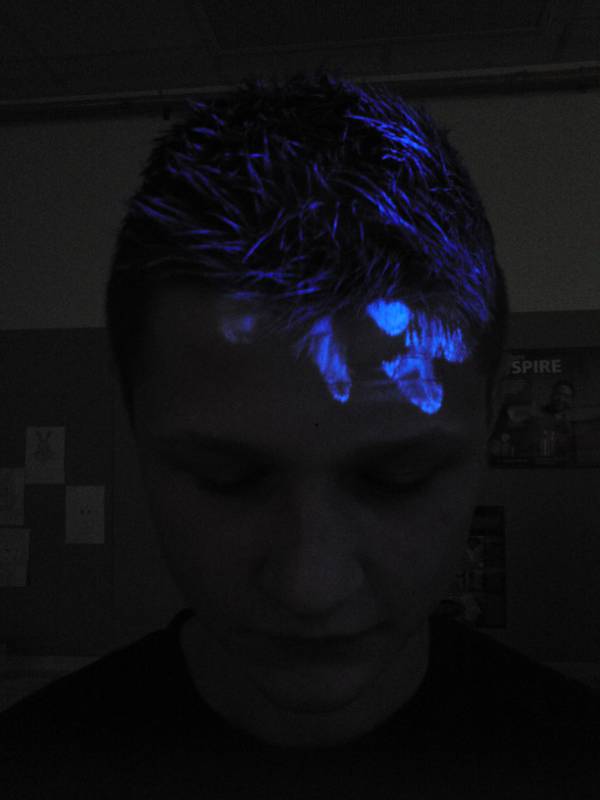
Kuba demonstrated fluorescence in class with some uv hair gel.  Here he is with some of the gel in his hair.

but we don’t see anything until we turn on the uv light.

Cool, eh?

You can even buy genetically modified tropical fish that glow under uv light.

httpv://www.youtube.com/watch?v=W1xbk7M1yIo

x-rays in medicine

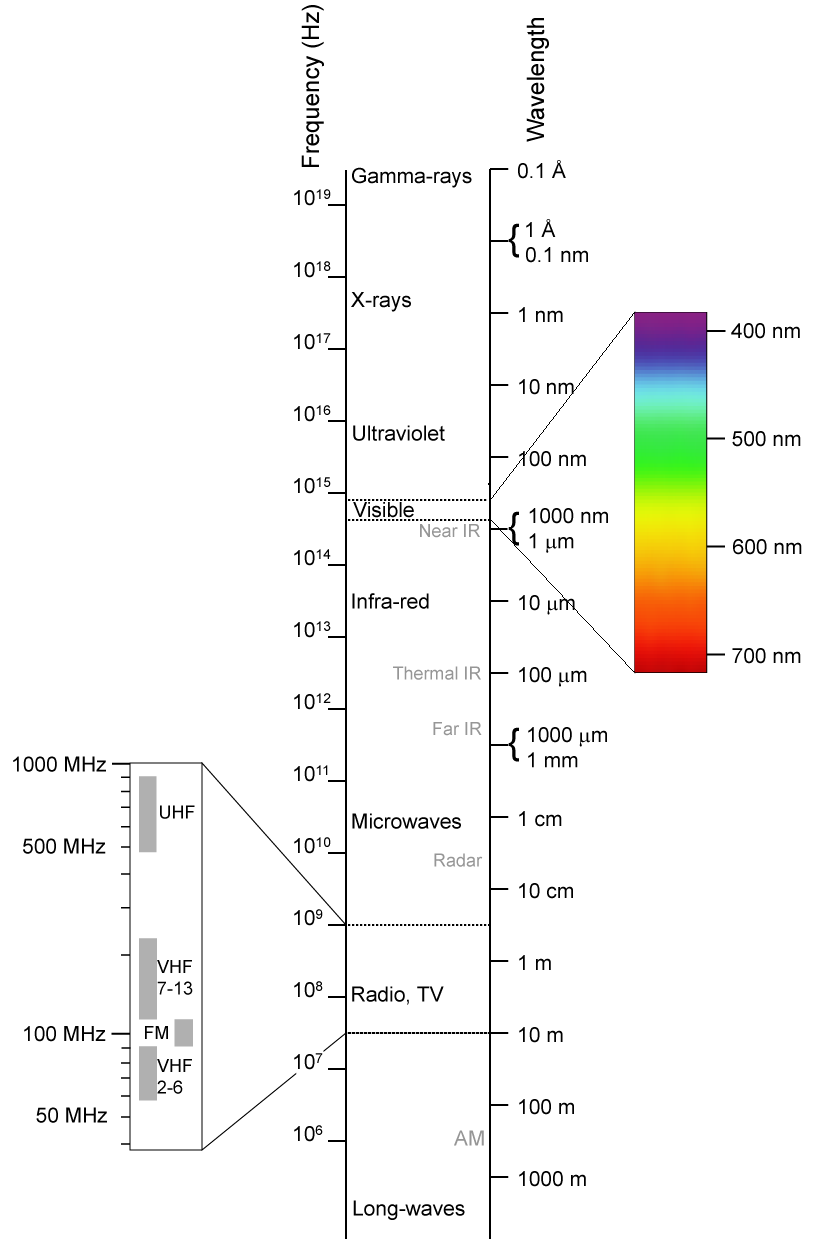
X-rays are a form of electromagnetic radiation.  They have a much higher frequency than visible light or ultraviolet.  The diagram below, taken from Wikipedia, shows where x-rays fit into the electromagnetic spectrum.

image by Materialscientist

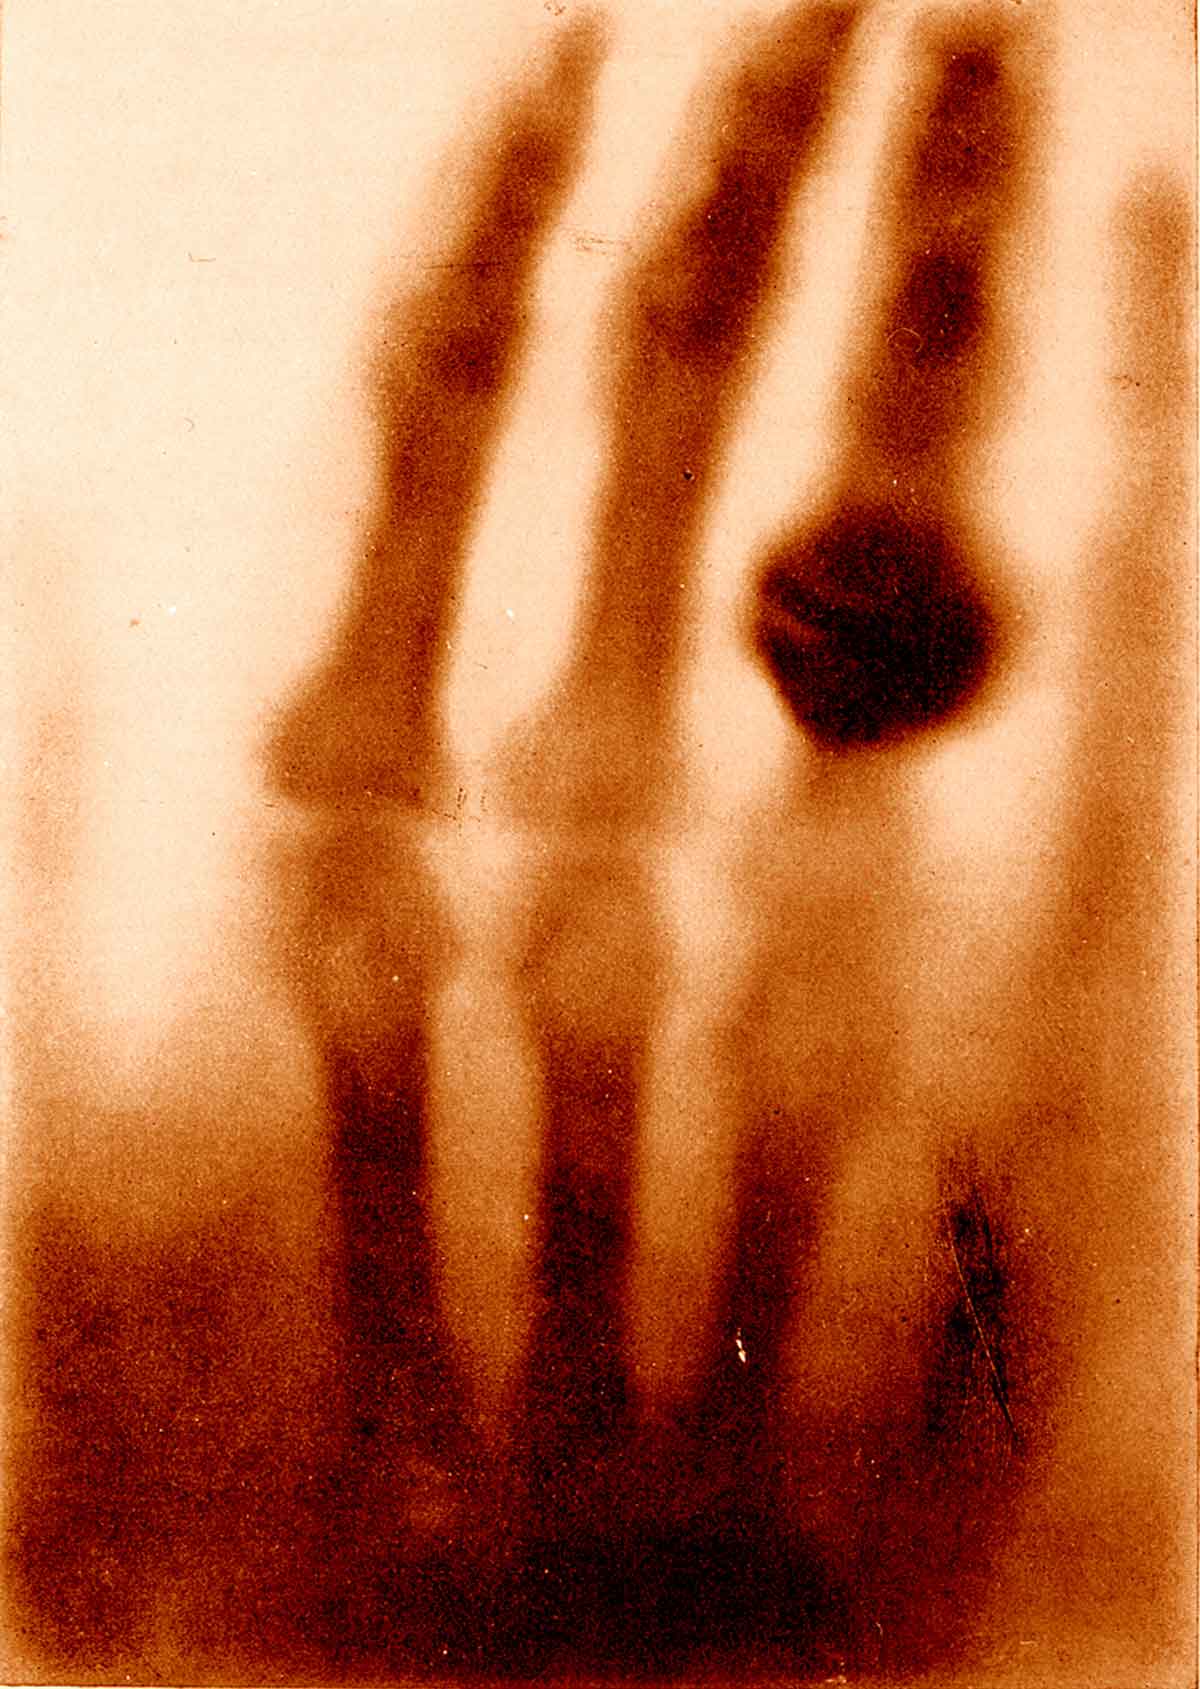
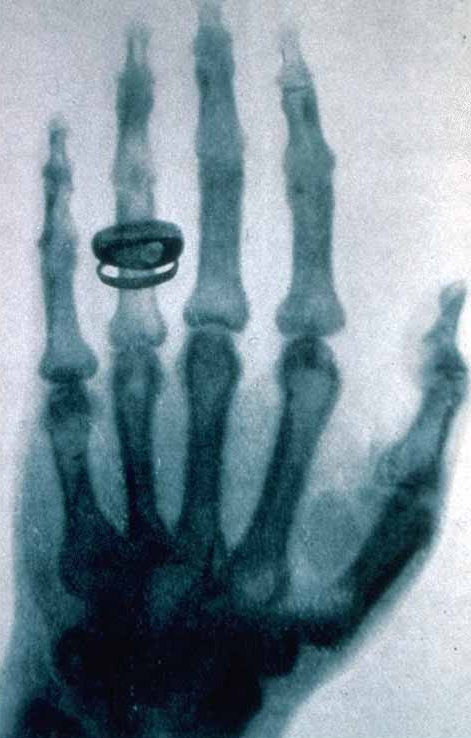
Wilhelm Röntgen discovered x-rays and the image below is the first x-ray image ever taken.  It shows Mrs. Röntgen’s hand and wedding ring.  The x-ray source used by Röntgen was quite weak, so his wife had to hold her hand still for about 15 minutes to expose the film.  Can you imagine waiting that long nowadays?

This was the first time anyone had seen inside a human body without cutting it open.  Poor Mrs. Röntgen was so alarmed by the sight of the image made by her husband that she cried out “I have seen my death!” Or, since she was in Germany, it might have been “Ich habe meinen Tod gesehen!” that she actually said.

Röntgen continued to work on x-rays until he was able to produce better images. The x-ray below was taken about a year after the first x-ray and you can see the improvements in quality.

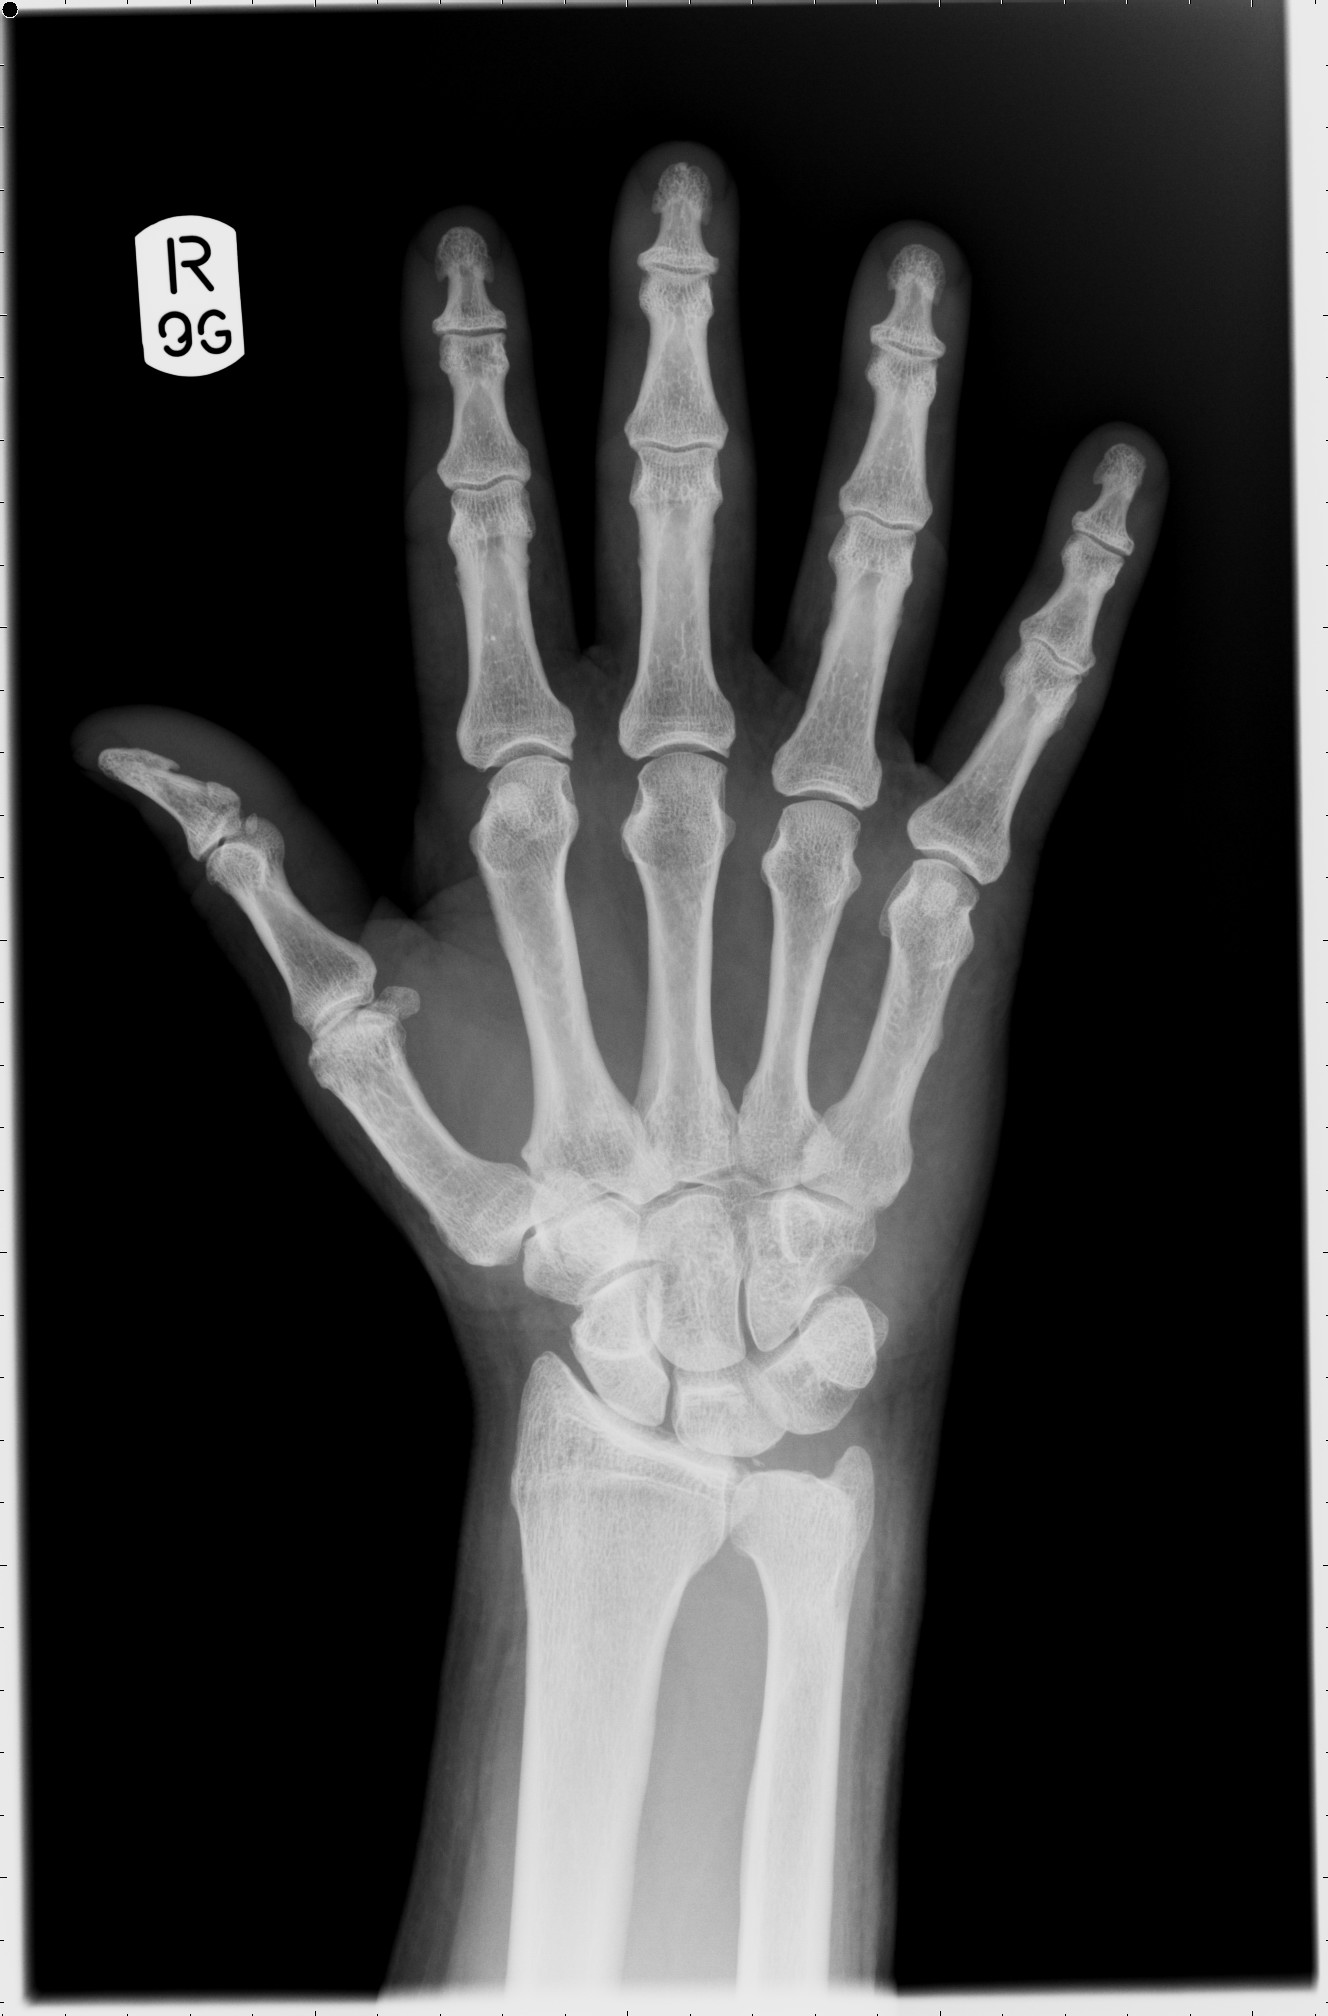
Notice that these early x-rays are the opposite of what we would expect to see today. They show dark bones on a lighter background while we are used to seeing white bones on a dark background, such as the x-ray shown below.  The difference is due to the processing the film has received after being exposed to x-rays.

In hospitals, x-rays expose a film which is then developed and viewed with bright light.  X-rays are able to travel through soft body tissue and the film behind receives a large exposure.  The x-rays darken the film. More dense structures such as bone, metal fillings in teeth, artificial hip/knee joints, etc. block the path of x-rays and prevent them from reaching the film.  Unexposed regions of the film remain light in colour.

Röntgen’s x-ray films would have involved additional processing steps.  The exposed films were developed and used to create a positive.  In creating a positive, light areas become dark and dark areas become light.  So the light and dark areas in Röntgen’s x-rays are the opposite of what we see today.  Our modern method makes it easier to detect issues in the bones as they are the lighter areas.

Röntgen was awarded the first ever Nobel Prize for Physics in 1901 for his pioneering work in this field of physics.

Medical imaging has come a long way since Röntgen’s discovery of x-rays.  This promotional video from German company Siemens outlines the advances that have been made since the early 20th century.

httpv://www.youtube.com/watch?v=vYwukXXRUo4

I have attached a recording of a short BBC radio programme about the first x-ray and what people in the Victorian era thought of these new images.  Click on the player at the end of this post or listen to it in iTunes.